
Jobsite Inspection
Here is what to expect during our skylight inspection. For a new skylight install we will need access to the roof and inside the attic. You will need to remove and clear any obstacles so we can safely access your roof and attic. Once we access your roof and attic we will:
1. From inside the attic we will identify whether your roof was constructed using rafter or trusses. We will also measure the spacing between the trusses or rafters to determine the skylight size that would fit in between. Note that trusses can not be cut however we can offer multiple skylight size options designed for truss applications.
2. We will inspect for roof and attic obstacles such as electrical wires, roof vents, roof support and other.
3. We will help you identify the location of the new skylight (s)
4. For proper water evacuation we will help you choose the correct style of skylight mount.
- Above 3/12 use a deck mount skylight
- 3/12 and below use a curb mount skylight
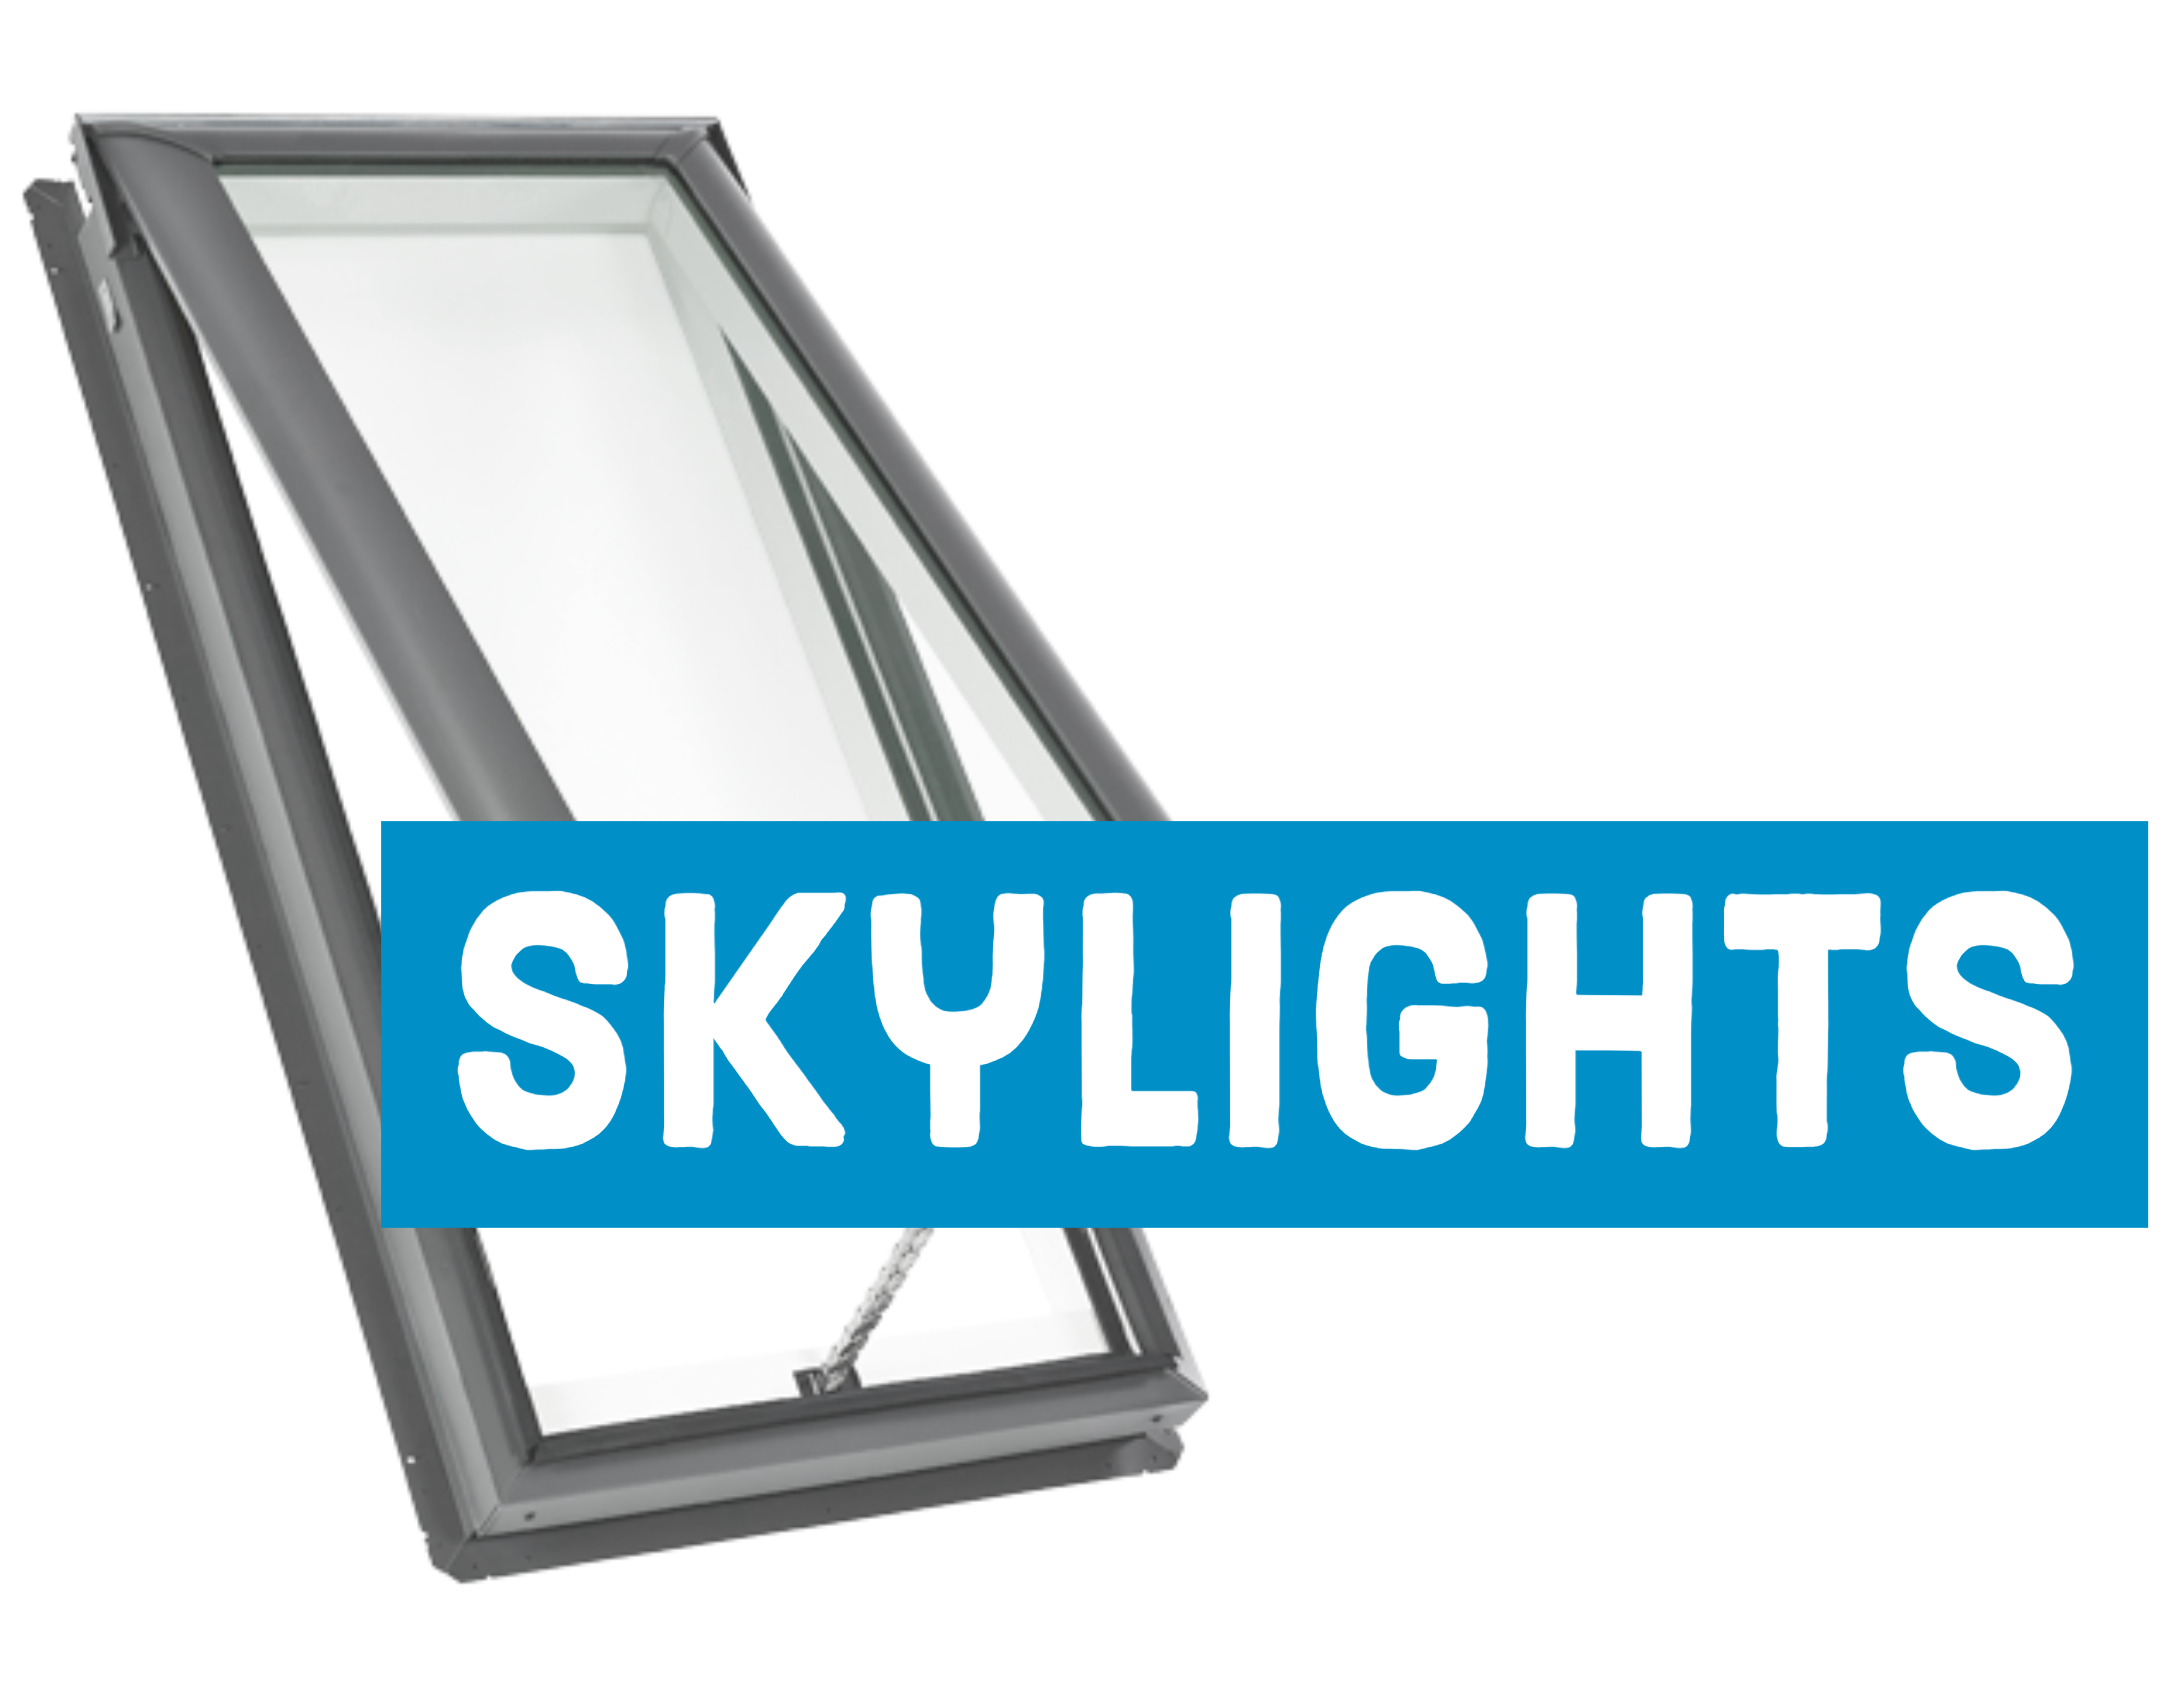
Choose your skylight
We offer fixed, vented, solar, electric skylights. See models available below:
1. VELUX models VSS-Solar Powered Fresh Air skylight - Open with remote control and closes automatically when it rains.
2. VELUX models VSE-Electric Fresh Air skylight - Open with remote control and closes automatically when it rains.
3. VELUX models VS-Manual Fresh Air skylight - Open with manual control.
4. VELUX models FS-Fixed skylight that does not open
Daylight Area
As a rule of thumb VELUX recommends the daylight area to be at least 10% of the floor area. This will provide the best lighting results.
Cobi Flashing
If large skylights can not be installed because you have a truss roof you may consider using a VELUX combi flashing to join several smaller skylights together providing the daylight levels of a large skylight.
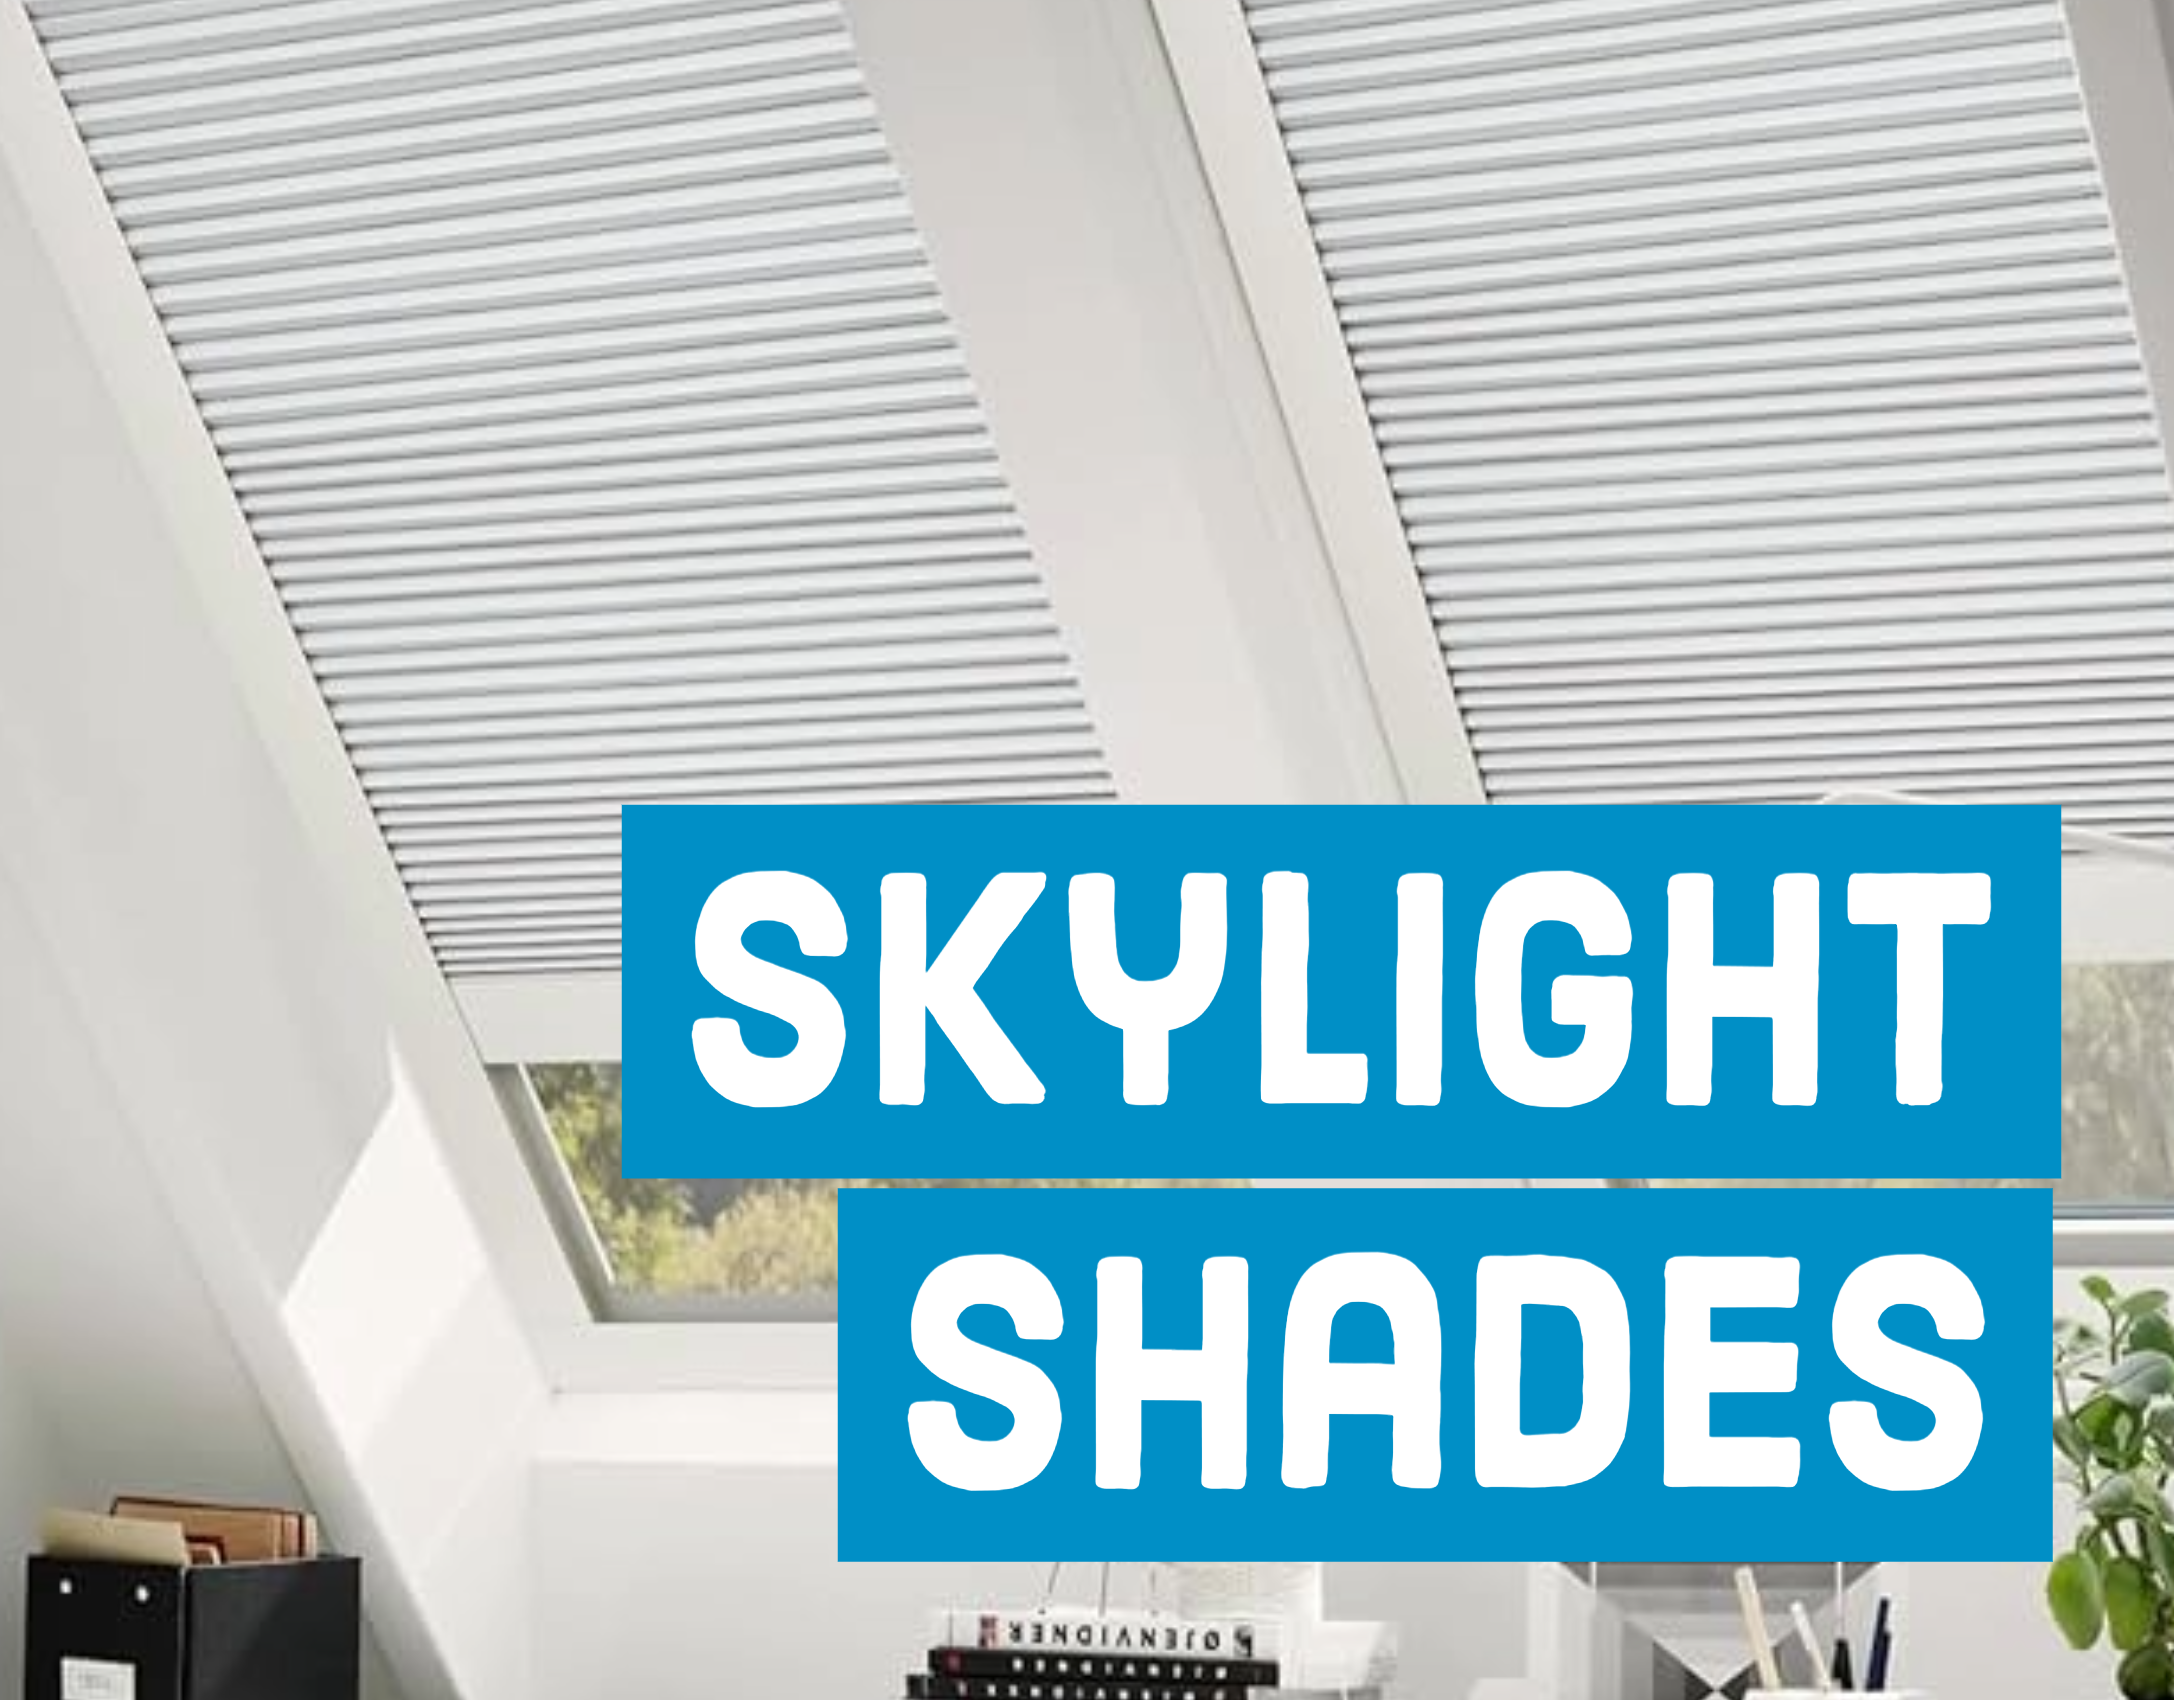
Blind options
We offer several options including solar power shades.
1. Room darkening blinds utilize a double-pleated honeycomb structure with an interior aluminum coating to reduce or block even the brightest sunlight, making them ideal for bedrooms or TV or entertainment rooms
2. Light filtering blinds have single-pleated fabric and are designed to allow soft, diffused light to enter the room and reduce glare, making them ideal for kitchens and bathrooms
3. Solar powered blinds provide light control with the touch of a button and they are eligible for up to a 30% federal tax credit, making them very affordable
4. This blind cannot be installed on skylights from other manufacturers or older VELUX skylight models
5. Remote control included with solar powered blinds
Skylight sold separately
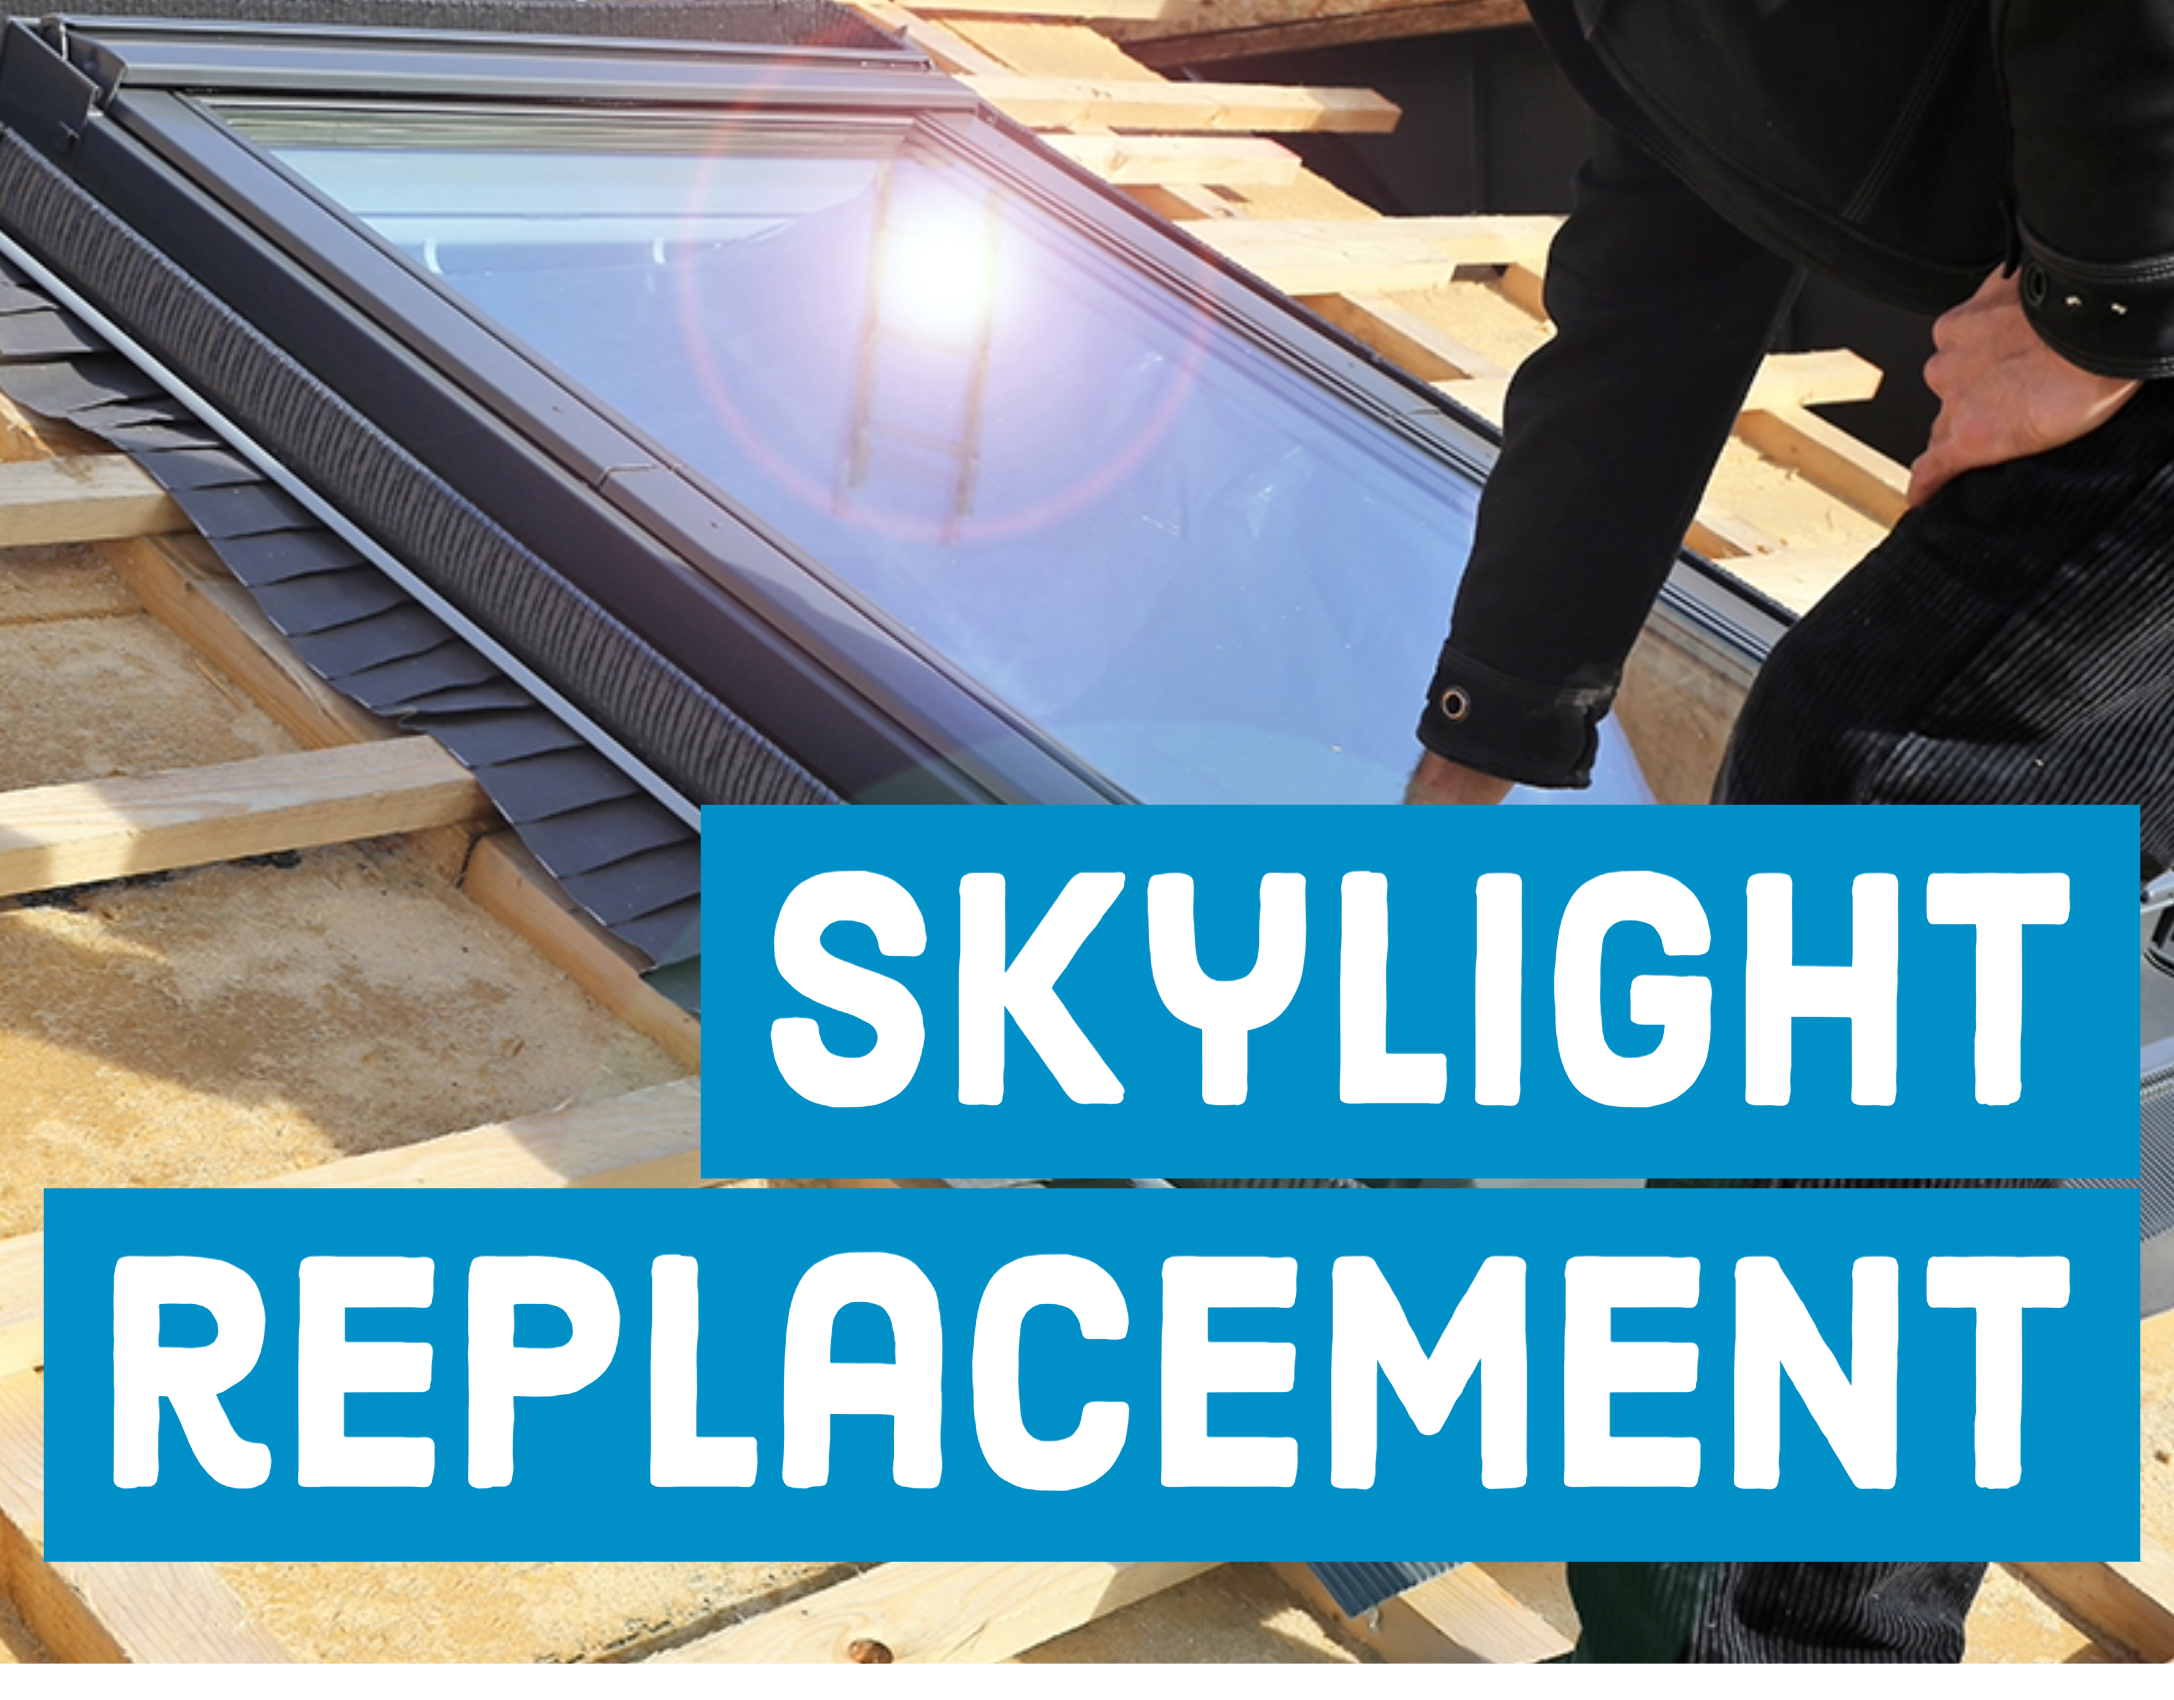
Skylight Installation and Other Repairs
The following scope of work is the most common protocol used within our new installs
1. We will locate and mark the rafters, once the space for the skylight has been determined the installer will locate the rafters with a stud finder and mark the locations between the rafter base for the rough opening. Note that a 18 inch minimum clearance below and on top of the skylight and 12 inches on the sides of the skylight are required.
2. Cut the rough opening, the installer will cut the ceiling along the marks for the rough opening to expose the inside of the ceiling and remove the insulation between the exposed rafters. Note trusses can not be cut.
3. Frame rough opening for the skylight, using the dimensions of the selected skylight, the installer will frame the rough opening for the skylight. Once the rough opening for the skylight has been framed, a screw on each of the corners of the opening will be driven thought the entire roof to outline the rough opening on the roof surface.
4. Prepare the roof, The installer will remove all of the shingles inside and 6 to 12 inches outside of the screws that are marking the skylight frame. Using a chalk line and the screws as a guide, the installer will snap a line to mark the opening for the skylight. He will then remove the screws once the outline has been made on the roof.
5. Cut the opening, using a circular saw and the outline as a guide, the installer will cut the opening for the skylight, and cut away the roofing underlayment 6 inches on all sides of the opening. This will provide space for the ice and water shield to adhere directly to the decking around the opening.
6. Install the skylight, the installer will then place the skylight over the opening and center it using the notches on the skylight as a guide. Once the skylight is centered over the opening and the cladding has been removed away from the skylight, he will nail the skylight into place though the flange using the nails provided by the manufacturer.
7. Install ice and water shield, starting from the bottom of the skylight the installer will measure and cut the ice and water shield at least 6 inches from each corner of the skylight. The water shield will run up the frame of the skylight. All corners will be cut and wrapped around the side of the skylight and flat across the roof. The same process will be followed to install the ice and water shield on the sides of the skylight and then finished at the top.
8. Install flashing, The installer will nail the bottom row shingles and then place the sill flashing at the bottom edge of the skylight overlapping the bottom row shingles using roofing nails. Once the sill flashing has been secured, the roofer will install step flashing from the bottom to the top. The last piece of step flashing may be cut to fit if it is too long.
9. For Solar Skylights, We will connect the solar panel to the body of the skylight then install the cladding after the shingle and step flashing has been installed on both sides. With the cladding in place, the saddle flashing will be installed around the top of the skylight. The saddle flashing shall fit over the cladding. The installer will install another piece of ice and water shield over the saddle flashing and then finish shingling
10. For solar skylights, the installer will sync the skylight while still on the roof
11. We will repair the drywall if applicable
12. Install the screen or shade if applicable
Skylight Installation Video
The following video provide an overview of the VELUX skylight line of products and installation process step by step

Free Window & Door Quote
Complete the form below to request a free estimate for door and windows
or call (708) 866-1541
Monday to Friday 9 am - 5 pm | Saturdays 9 am - 2 pm
Your message has been sent. Thank you.